Back to Top
RV and Camper Spring Prep: Cleaning Seals, Decals, and Stubborn Buildup with Plastic Blades
April 17, 2025
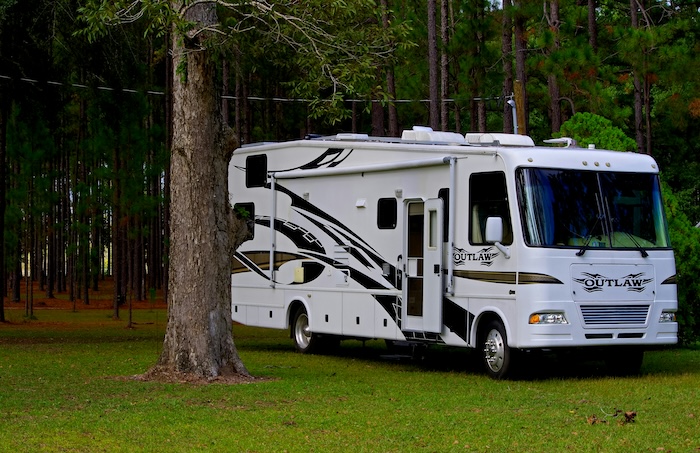
As the days grow longer and the temperatures rise, RV and camper owners start looking ahead to road trips, campground weekends, and summer getaways. But before the fun begins, spring prep is essential—and often a little messy.
For Sarah, getting her RV ready for the season meant tackling a to-do list filled with post-winter grime, stubborn buildup, and cosmetic touch-ups. The seals around her windows and storage compartments had collected layers of dirt and sap. The decals were faded and starting to peel, and a few areas needed resealing where the caulk had cracked or pulled away. She wanted to clean and refresh everything without scratching the RV’s surface or making a bigger mess.
That’s where plastic blades came in.
Cleaning Around Rubber Seals and Trim
One of the most frustrating areas to clean on an RV is around the rubber seals and trim. Over time, these areas collect road grime, tree sap, and even mildew. Traditional brushes and cloths often push dirt into the edges instead of lifting it away. Sarah used a plastic blade to gently scrape along the edges of the seals—enough pressure to lift the buildup, but not enough to risk damaging the rubber or surrounding paint.
Plastic blades are perfect for this kind of work because they can flex slightly, reaching into small gaps and seams. Unlike metal tools, they won’t gouge delicate trim or scratch the surrounding gelcoat or fiberglass. This gave Sarah the confidence to work more quickly and thoroughly.
Removing Old Decals and Adhesive Residue
Sarah also decided to remove a set of aging decals from the side of the RV. Years of sun exposure had left them cracked and faded, and she wanted a cleaner look before replacing them. She began by warming the area slightly with a hair dryer to loosen the adhesive, then used a plastic blade to lift the edges.
The smooth, sharp edge of the blade allowed her to peel away the vinyl layer without leaving deep scratches behind. When she hit leftover adhesive, she applied a bit of citrus-based remover and continued scraping carefully. The job took some patience, but the blade helped her avoid harsh chemicals or damage to the RV's finish.
Prepping for Sealant Repairs
With the old caulk removed in a few key areas—like around roof vents and side panels—Sarah was ready to reapply sealant. But first, she needed to ensure the surface was clean and smooth. Plastic blades made it easy to scrape away old, brittle caulk without gouging the substrate. This clean prep made a huge difference when she laid down fresh sealant, helping it adhere better and look more professional.
From start to finish, the plastic blades proved versatile enough to handle multiple parts of her RV maintenance routine. And unlike metal scrapers or abrasive pads, they gave her the precision and control she needed without causing surface damage.
Wrap-Up: A Smarter Way to Spring Clean an RV
By using plastic blades for key parts of the RV prep process–cleaning seals, removing decals, and clearing out old caulk—Sarah was able to finish her spring maintenance faster, with better results and far less risk of scratching or damage. The plastic blades gave her the precision she needed to work efficiently without harming her RV’s finishes, especially around tricky corners and tight seams.
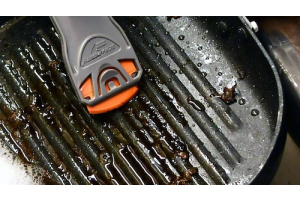
For jobs like these, Scraperite’s plastic blades are an ideal solution. Our orange blades are specifically designed to be gentle on sensitive surfaces while still delivering the strength needed to lift grime, residue, or sealant cleanly. With a wide range of blade types available, RV owners can choose the best option based on the materials they’re working with and the cleaning products or solvents they prefer. Scraperite makes spring prep easier, cleaner, and safer.

Share on Facebook

Share on X

Share on Pinterest
Comment(s)
Recent Posts
