-
Fall Home Maintenance: Tools to Clean and Prep Your Home
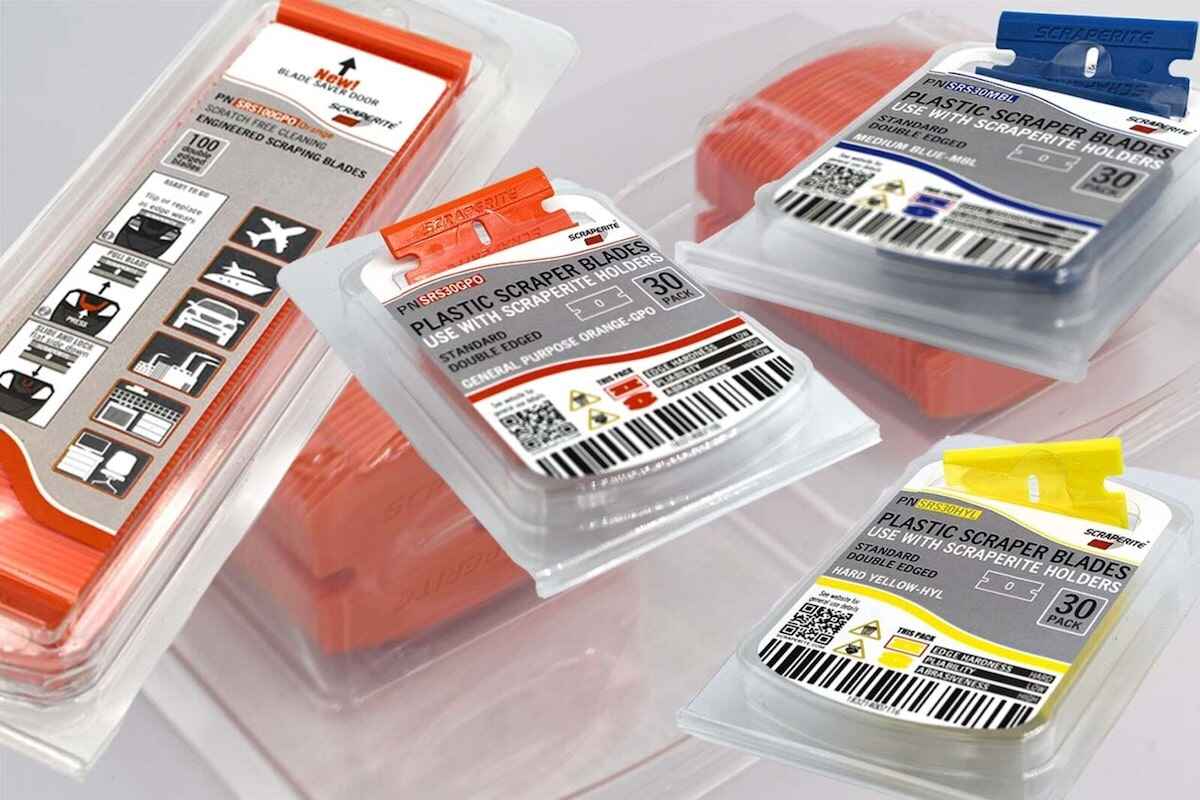
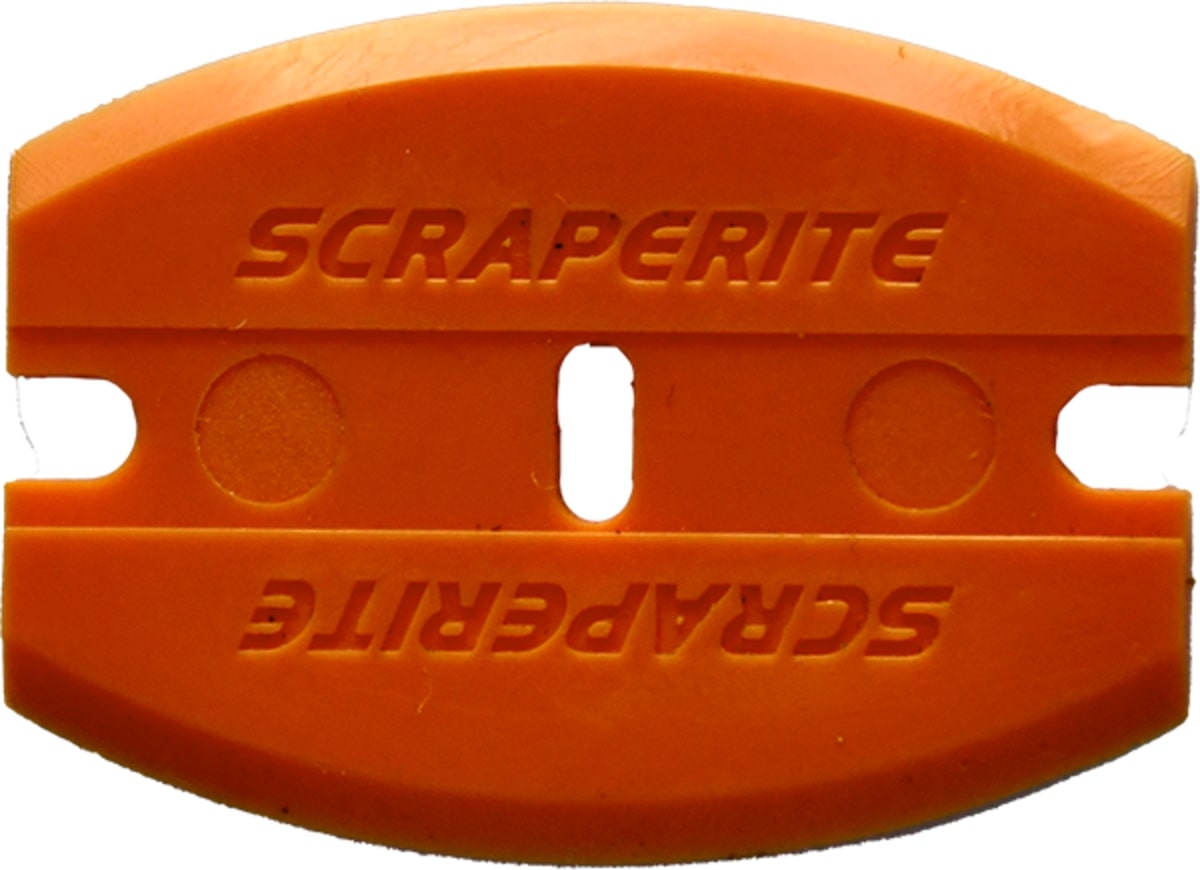
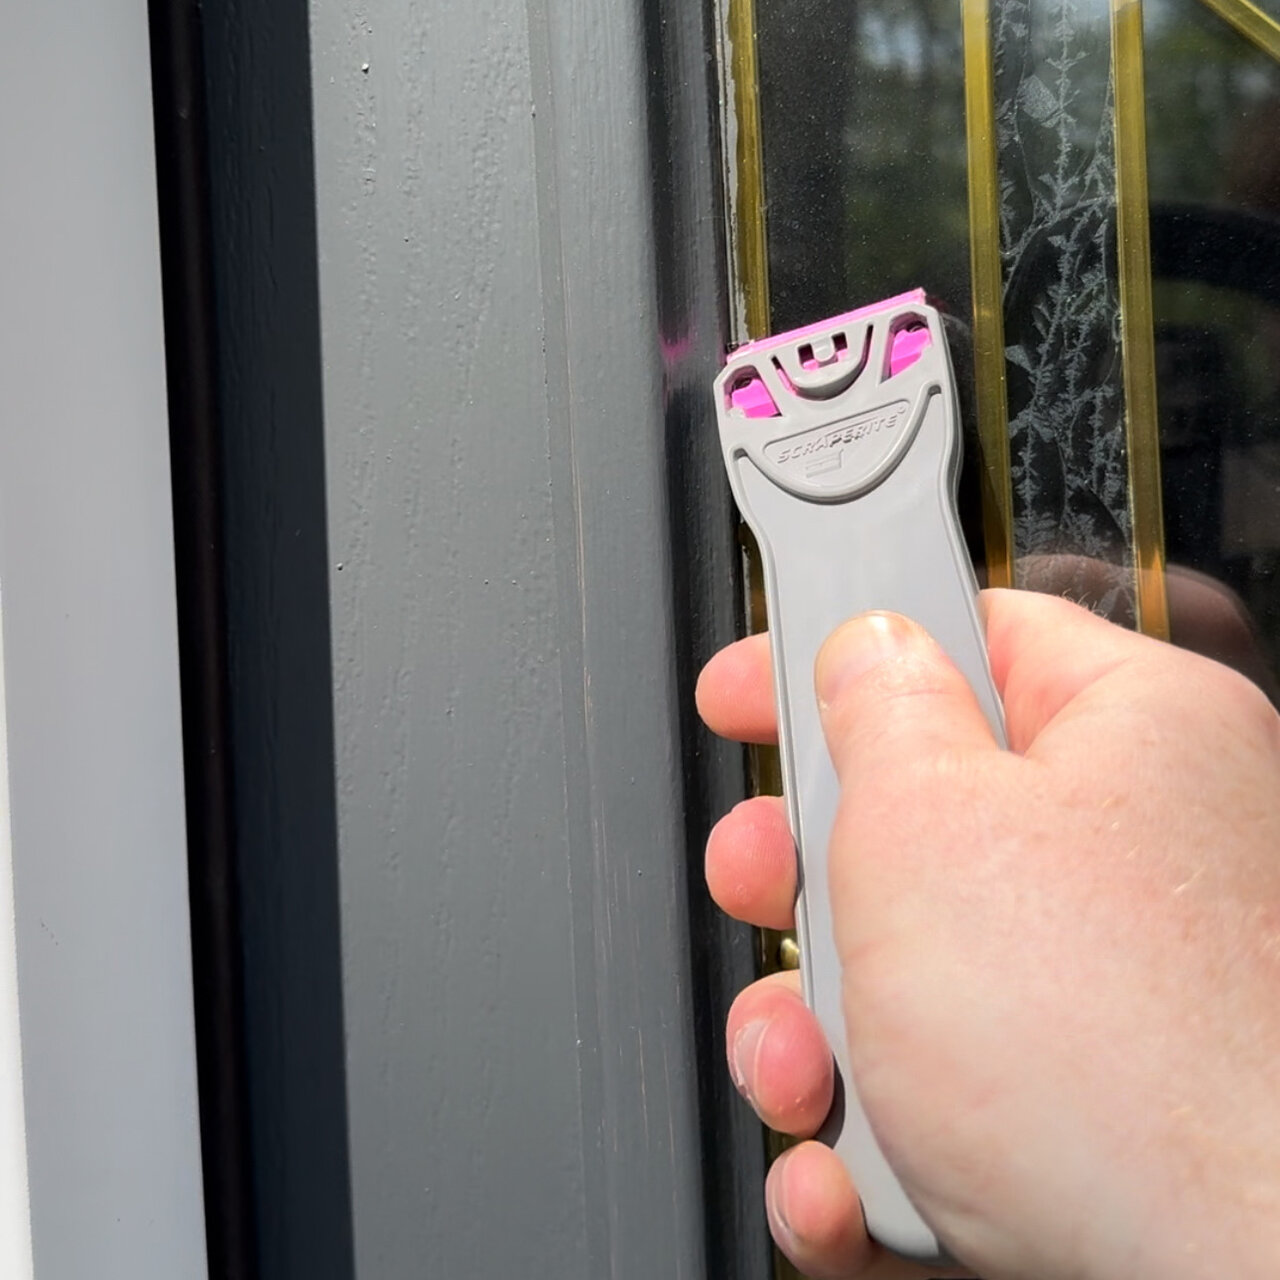
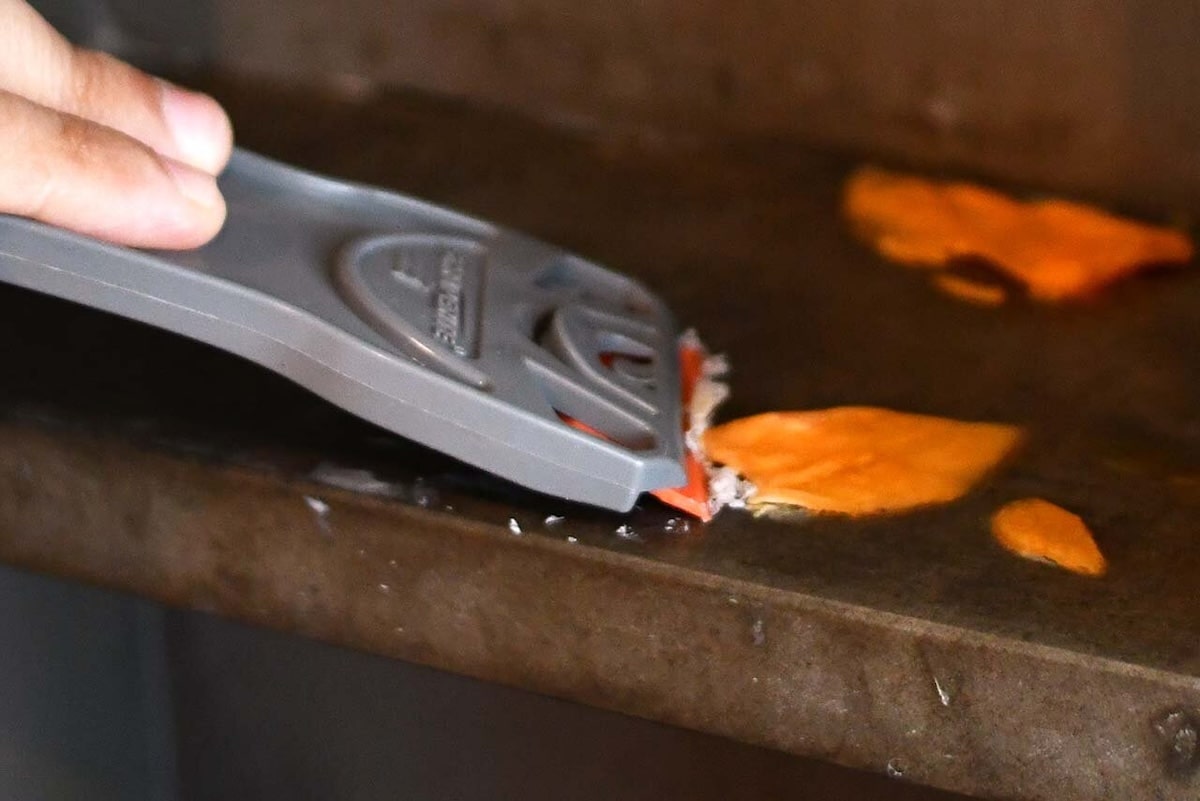
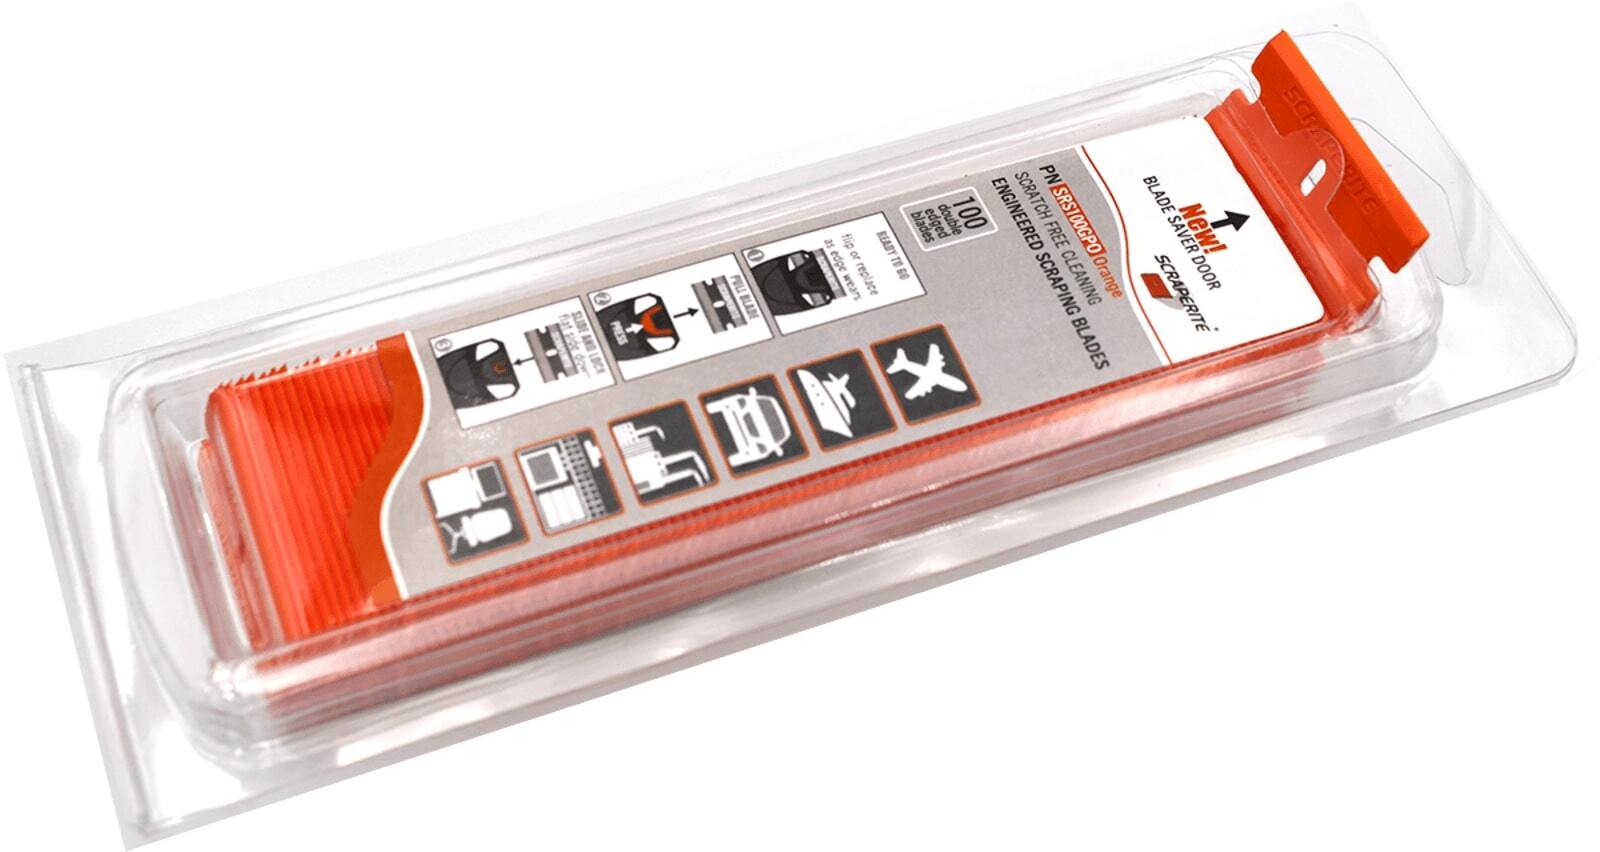
As the summer sun gives way to cooler days, our homes and outdoor spaces need a little fall home maintenance. Leaves pile up, fireplaces come back into use, and outdoor areas need a reset before winter settles in. The good news? With a Scraperite plastic scraper in hand, many of these chores become quicker, safer,…
-
The Essential Guide to Cleaning Garden Tools
The wheelbarrow was loaded. Not with mulch or weeds, but with every tool Maddie had used since April. Hand trowels, pruning shears, a soil knife, even that old cultivator she only brought out for major jobs. All of them were streaked with rust, flecked with dirt, and sticky with a strange sap she couldn’t even…
-
Summer Outdoor Cleaning Hacks
Summer comes with its fair share of outdoor fun and a surprising amount of sticky messes. Whether it’s sap on patio furniture, dried mud on tools, or mystery grime in flower pots, cleanup can get tedious fast. That’s where a durable plastic scraper comes in handy. It’s a lightweight, safe, and surprisingly versatile tool that…
-
Clean Patio Furniture Safely
The first warm Saturday of the season had finally arrived, and Lauren was ready. She dragged the patio chairs out of the garage, propped up the faded umbrella, and set her sights on a backyard reset. But within minutes, her excitement started to wane. Everything was… sticky. There was a syrupy patch on the armrest…
-
Safe Hacks to Remove Sticky Outdoor Residue After Camping
After three days off-grid in the Adirondacks, Erin’s SUV looked like it had been through a war. The drive home added its own layer of bug splatter, but that wasn’t the worst of it. Parking under pine trees for shade left sap streaked across the hood and roof. The firepit grates were caked in char,…
-
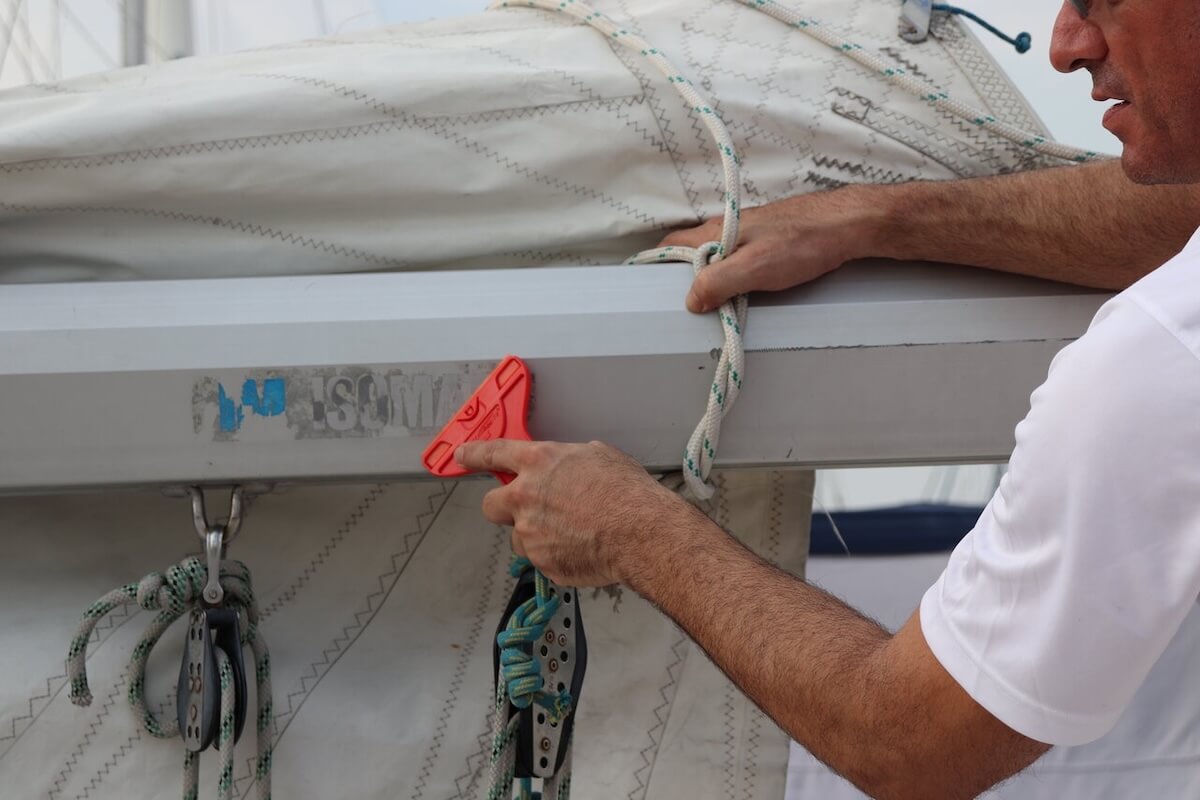
Remove Vinyl Boat Lettering—Without Damaging Your Hull
Whether you’re changing your boat’s name, updating registration numbers, or simply giving your vessel a facelift, removing vinyl lettering is a common part of boat maintenance. But it’s not as simple as peeling it off—especially if the adhesive has baked in under years of sun, salt, and weather. The challenge? Getting rid of old lettering…
-
Boat Galley Cleaning Tips: Conquering Grease and Grime
A clean boat galley isn’t just about aesthetics; it’s fundamental to a healthy, happy onboard environment and crucial for preserving your boat’s interior against the relentless marine elements. The constant motion, often compact workspaces, and sometimes limited airflow can make your galley a prime battleground against grime that seems immune to typical home cleaning methods.…
-
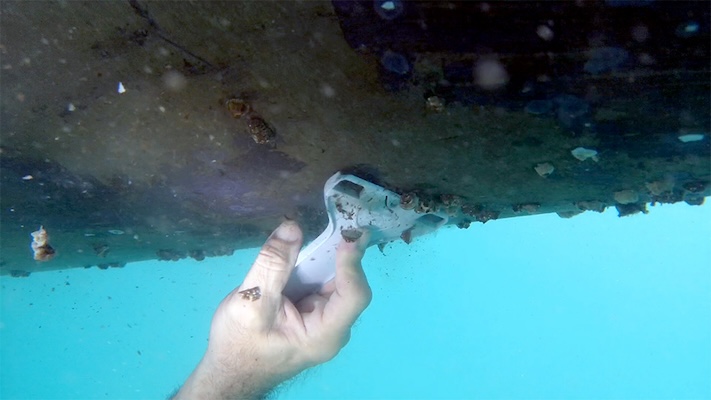
Remove Early Marine Growth Without Hurting Your Hull
If your boat stayed in the water all winter, chances are you’re already seeing the first signs of marine growth. Even with anti-fouling paint, algae and barnacle beginnings can creep in as the water warms up. The good news? If you act early, you can clean marine growth safely without damaging your hull’s protective coating.…
-
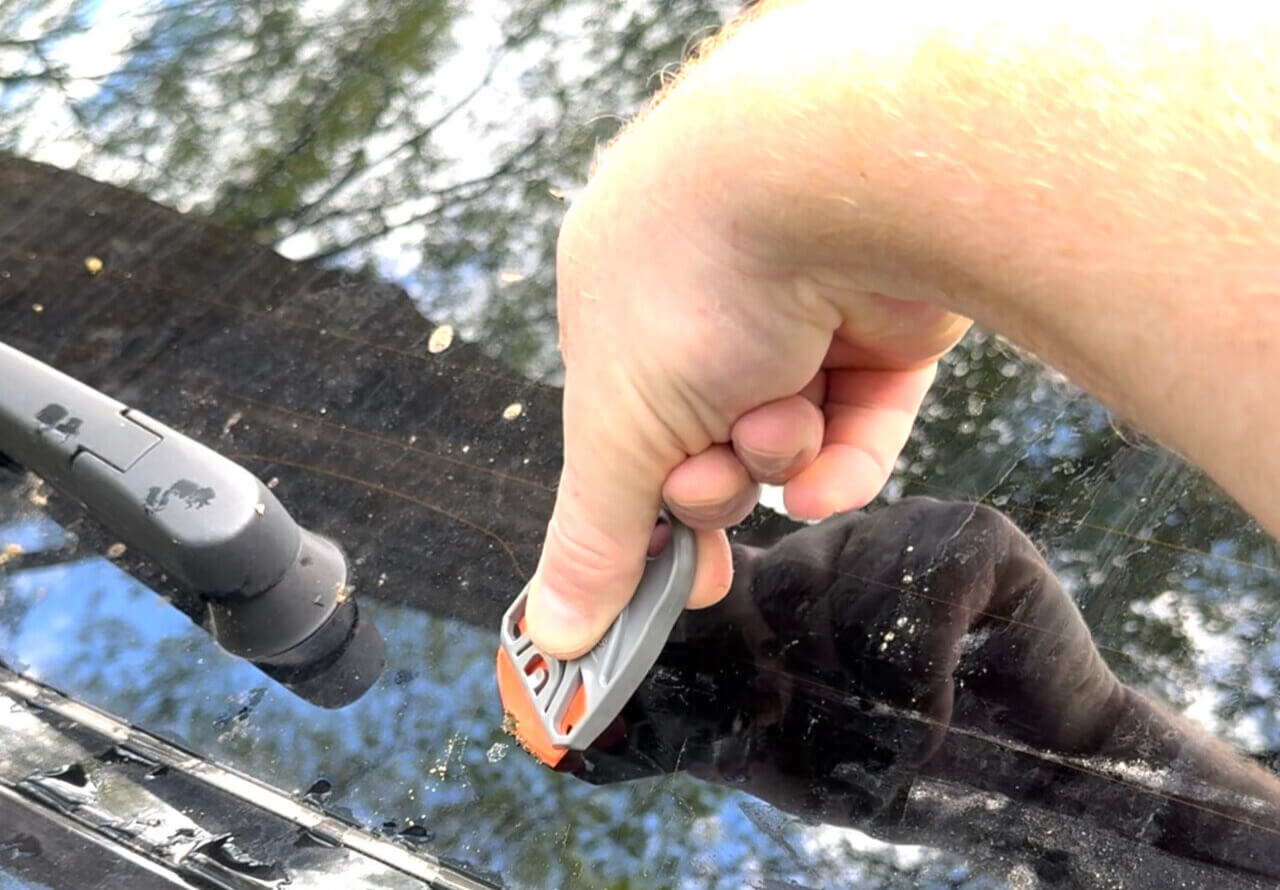
How to Remove RV Caulk Safely for Resealing
Whether you’re prepping for the fall rains or getting a jump on spring maintenance, resealing your RV windows and skylights is a crucial step in keeping your rig watertight and road-ready. But before you can reseal, you’ve got to remove the old caulk, and doing that wrong can lead to costly scratches, gouges, or even…
-
RV Spring Cleaning Checklist
Get your RV or camper road-ready with this targeted checklist. Whether you’re heading to the mountains, coast, or your favorite local campground, these key prep steps will help you start the season fresh, without damaging surfaces or wasting time. Following this RV spring cleaning checklist ensures you cover the most crucial areas before hitting the…